Archive for the ‘Design and Development’ Category

Massive Multi Stage Tri booster Update

Friday, April 10th, 2009

I’ve have been busy assembling the components the scouts made at our last rocket construction evening. I have now coupled everything together to effectivly leave us with the compelted structure of the rocket.

triboosterrocket

A 15mm plastic tube is used as a skeleton onto which the boosters are duct taped onto. I decided to use duct tape in the end as it seems to have massive sticking power. It is stuck down the whole length of the plastic tube and provides a very stiff booster segment. The multi-stage part of the rocket then slides down on to an exposed part of the tube sticking out the stop of the booster.

I weighed the whole rocket as pictured above and it came to just slightly over 800g.

More updates with finer details of its construction to come over the next week.

Started Construction of Tri-Bottle Cluster Booster

Sunday, March 29th, 2009

Now that I have finally come up with a relativly easy method of butt joing bottles, I sat down this weekend and made another two butt to butt joined sections. I have that it is extremely important to make sure that the holes in the bottom of the bottles are perfectly central, otherwsie the ridges on either bottle will not sit together properly. This will in turn mean that the actual centre of the bottles are not touching and thus your little piece of threaded rod, will not be long enough.

Now that I have 3 completed sections, I can start to construct the bottom half of our new rocket, which will be a booster cluster comprised of 3xrockets. For demonstration purposes I have held the 3 sections together with elastic bands.

3xrocketbooster

You can see I have placed the staging mechanism on top of the boosters. There will probably be another section inetween them, which contains the electronics and parachutes for the booster section.

Pressure Switch – Part 4

Sunday, March 22nd, 2009

After trying many times to get a working air tight pressure switch using the brass components in the previous post, I decided that it wasn’t going to happen. So I set about trying something new.

I stumbled across this on the Yahoo water rocket forums:-

http://groups.yahoo.com/group/water-rockets/photos/album/930791471/pic/list

I decided that this looked like a very reliable method of making a pressure switch. The only down side is that it needs to screw onto the top of the bottle, this means that you need to join the bottles together by bottoms, instead of the normal top to bottom arrangement.

I am glad to see, as you can see below that the new switch works really well and there is no sign or any leaks. The switch operates at about 20psi, slightly higher than the previous design, but probably due to the slightly thicker rubber.

Pressure Switch Part 3

Tuesday, March 3rd, 2009

After a rather large break from building rockets I have started to start design and construction for the competition this summer. Whilst I was buying the parts to make more robinson couplings, I saw some other brass components which I thought could be used to make a working pressure switch.

Brass Components Brass Components

The micro switch is clamped onto the two flat brass circles shown above. A balloon is held in between these two brass circles. In theory when the pressure builds up in the rocket, the balloon should expand through the hole in the brass circles and press the micro switch.

The idea is to use the parts to make a pressure switch that can just screw onto a robinson coupling as shown below.

End of Bottle showing coupling Pressure Switch Attached to bottle

Good news first, it works, the micro switch engages at around 15-20psi. Only problem I am having however is the classic problem of making it airtight. After about 40psi there is a notable hiss of air leaking. I will continue to work on it, using some rubber washers and sealent to try and make it air tight.

Pressure Switch – Part 2

Saturday, December 20th, 2008

I am having a real hard time getting the pressure switch to be fully air tight. The switch works, but after 20-30 seconds, it stops conducting. I am guessing that there is some tiny air leak which is letting in undetecable amounts of air. I have been unsuccessful in sealing the switch any further.

I will continue to explore ways of making a more sealed switch, but I am also looking into other ways of detecting the end of the booster thrust phase.

  • Pressure – Similar to the current switch I am working on, but with a small switch inside a balloon
  • Temperature – According to Boyle’s law as pressure drops, so should the temperature if the volume of the bottle stays the same. A thermistor should be able to detect this.
  • Water Sensor – Detects when all the water has been expelled from the rocket.

Pressure Switch

Sunday, December 7th, 2008

I have been working on a pressure switch which will be an essential part of our multi stage rocket next year. The idea came from Air Command Rockets.

The pressure switch is made from a old TV remote control button. The membrane and the circuit of a single button are sandwiched in between to small metal plates. This in theory should seal the air inside the rubber button. This is then placed inside the pressure chamber.

As the pressure chamber is pressurised, the air pressure forces the button to be pressed and hopefully presses the contacts on the circuit board. When the rocket launches, the pressure will fall and the button will depress, disconnecting the circuit. A circuit will look for the switch disconnecting and will then trigger the staging mechanism. I am hoping to test this soon and will report findings.

PIC Chip Programmer

Monday, December 1st, 2008
Velleman 8048

Velleman 8048

I’ve gone and bought myself a PIC Chip programmer to play about with. Its the Velleman 8048 kit and comes with a 16F627 PIC.

I am intending to hopefully use a PIC Chip to replace the two chips used in the current Optoelectronic Apogee detector circuit.The supplied PIC has both a onboard comparator and Pulse width modulation on some of the outputs, meaning that only a handful of external components will be needed to construct the circuit from now on.

Once I have that working, I can then hopefully change the code to introduce failsafe features to release the parachute after a certain time period, in case the circuit fails to detect the rotation of the rocket. However I have never used PIC chips before both on the electronic and the programming side so it will be an intresting journey. I will report my findings as I go.

Rocket Nozzle How To

Thursday, July 17th, 2008

I have created a guide on how to create the rocket nozzles we used on our recent rockets:-

http://www.fisk.me.uk/blog/water-rockets/rocket-nozzles/

Possible reasons for Louie veering off course

Saturday, July 12th, 2008

Over the last few days I have been watching the videos from the competition over and over to try an get to the bottom of Louie veering off course at the start of the launch. I have also been discussing the problem at the Yahoo Water Rocket mailing list (see: http://groups.yahoo.com/group/water-rockets/message/8435)

One thing is for sure, that the rocket is stable in flight, its centre of gravity is well above its centre of pressure. Also the rocket only seems to be unstable at low velocity’s, this confirms that once sufficient velocity has been achieved and drag is being generated by the fins, the rocket is stable.

Various reasons have been suggested for why the rocket is unstable at low speeds, including cross winds, not enough pressure, a bent rocket or a off centred nozzle.

The low launch pressure means that the rocket will have low take off velocity so the fins won’t generate drag for the first several meters of flight, during this period the rocket will be very susceptible to external forces that may try to steer the rocket off course.

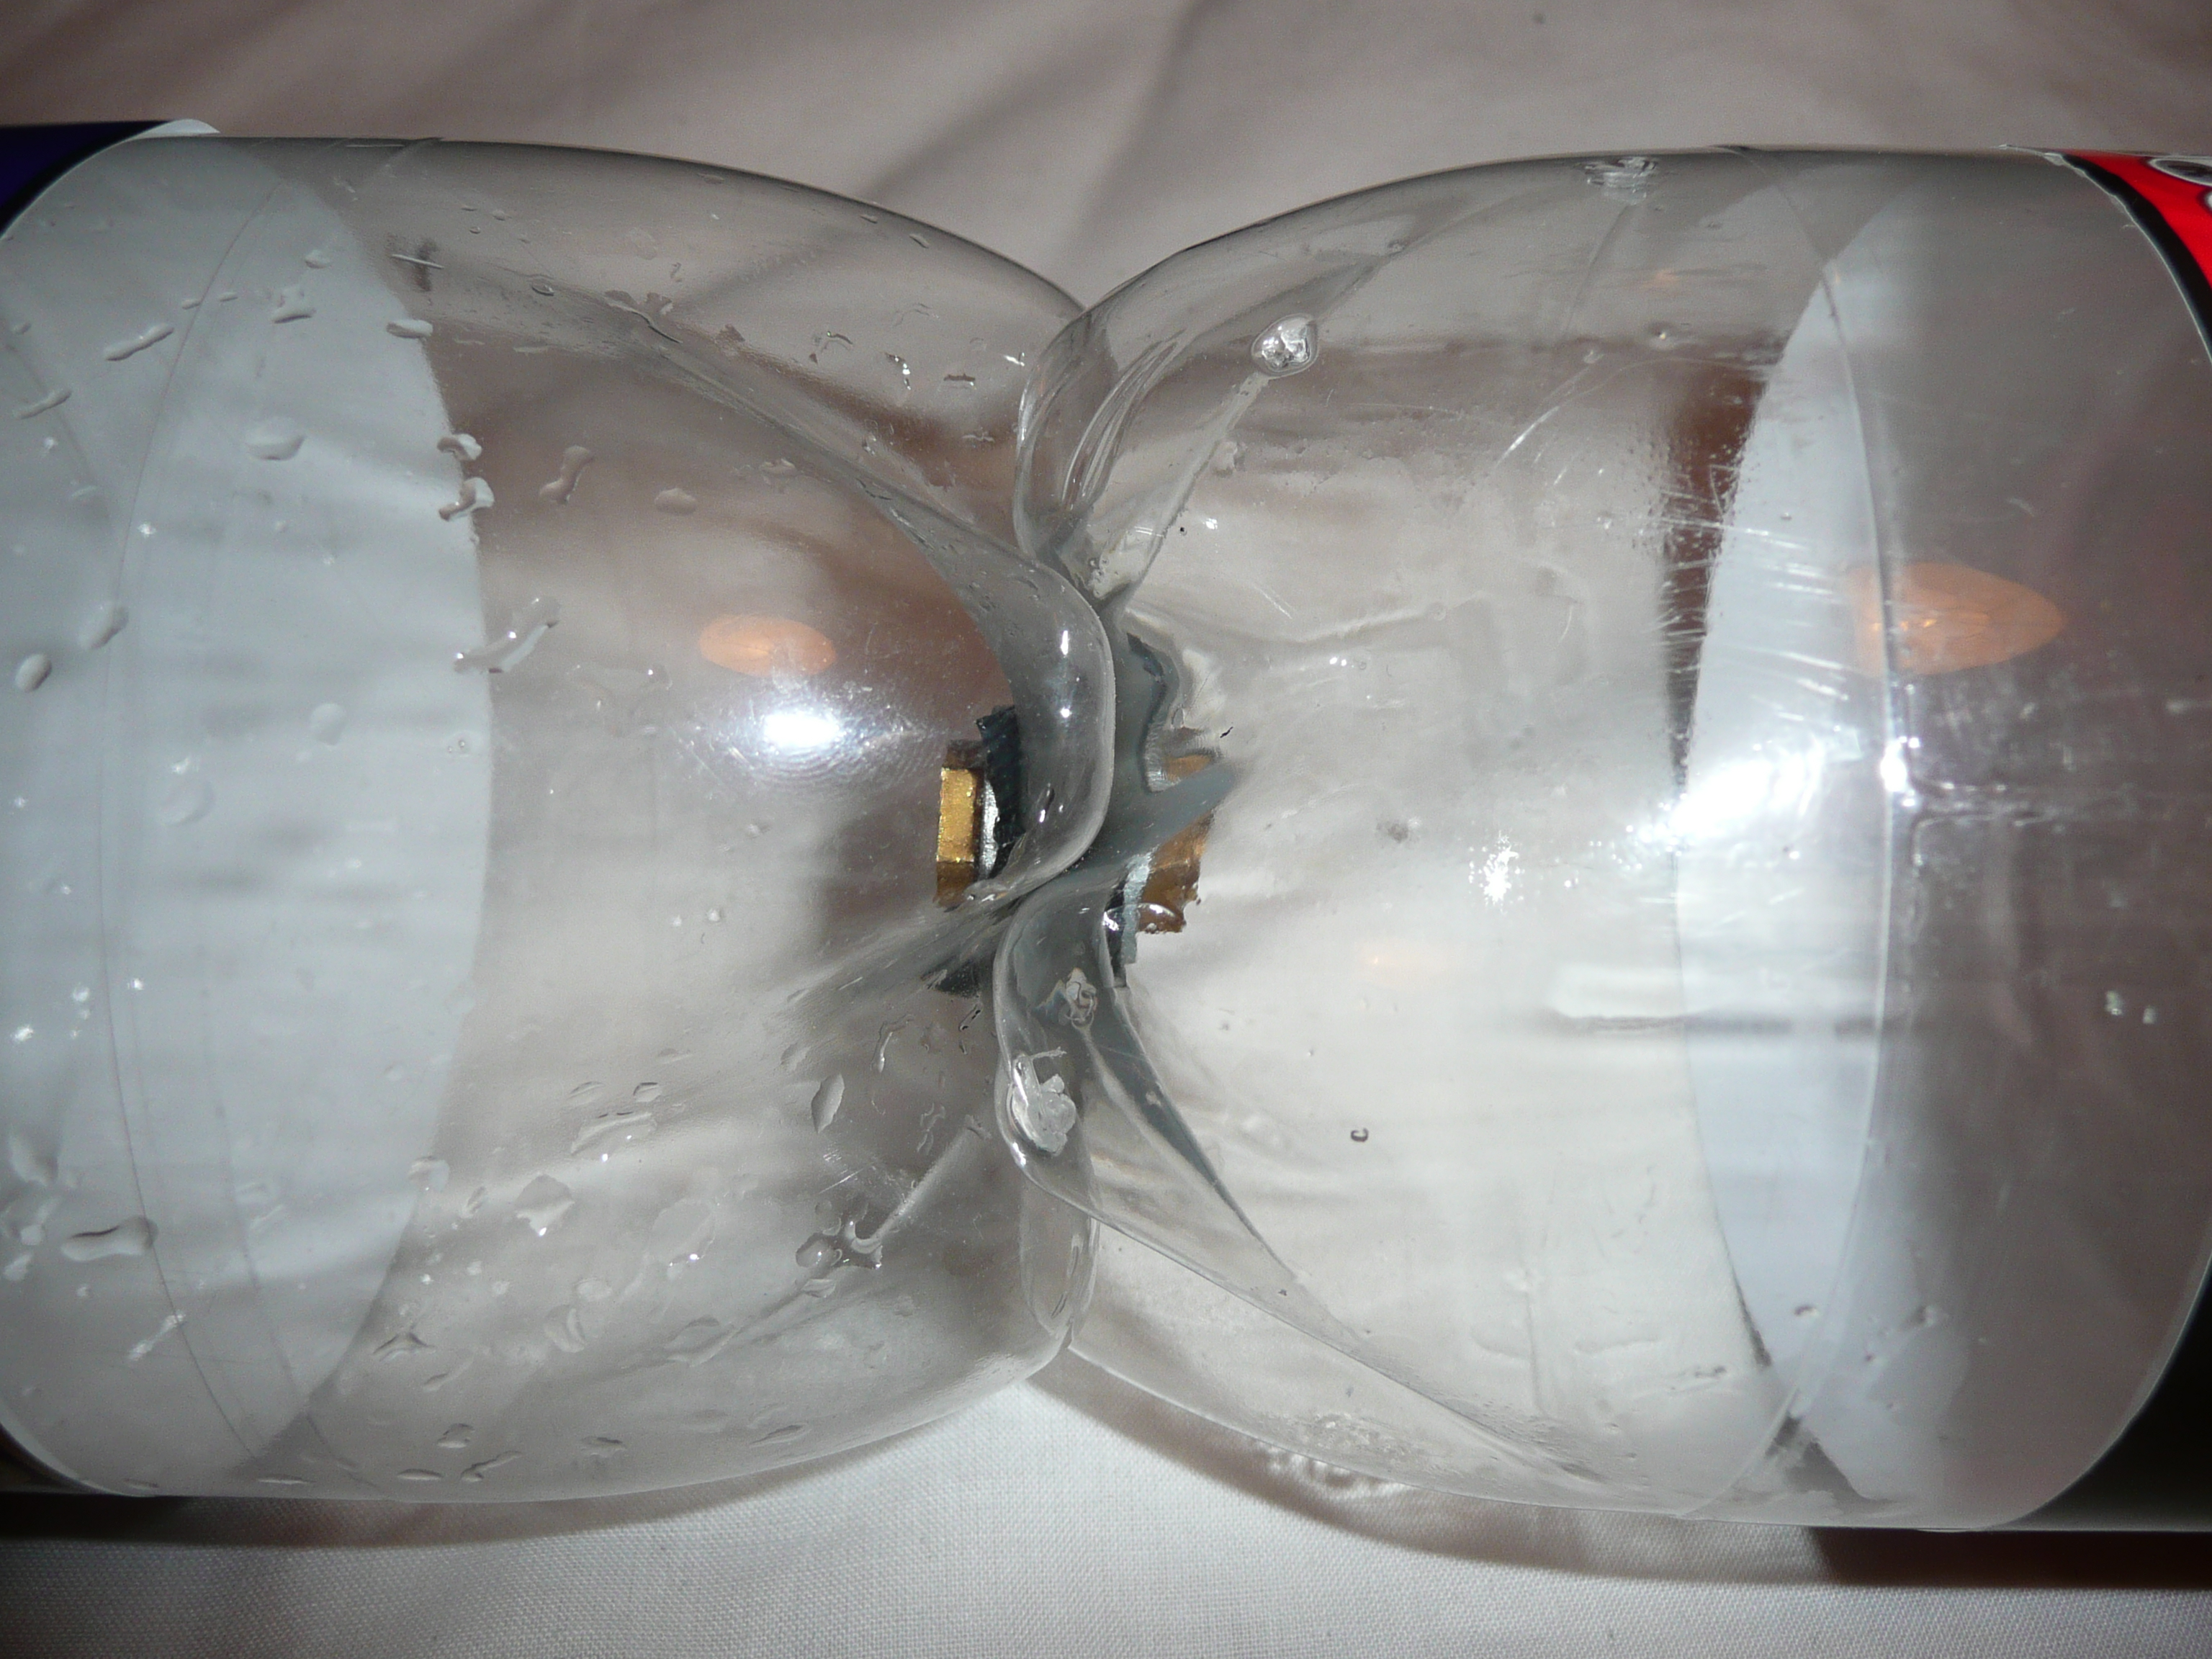
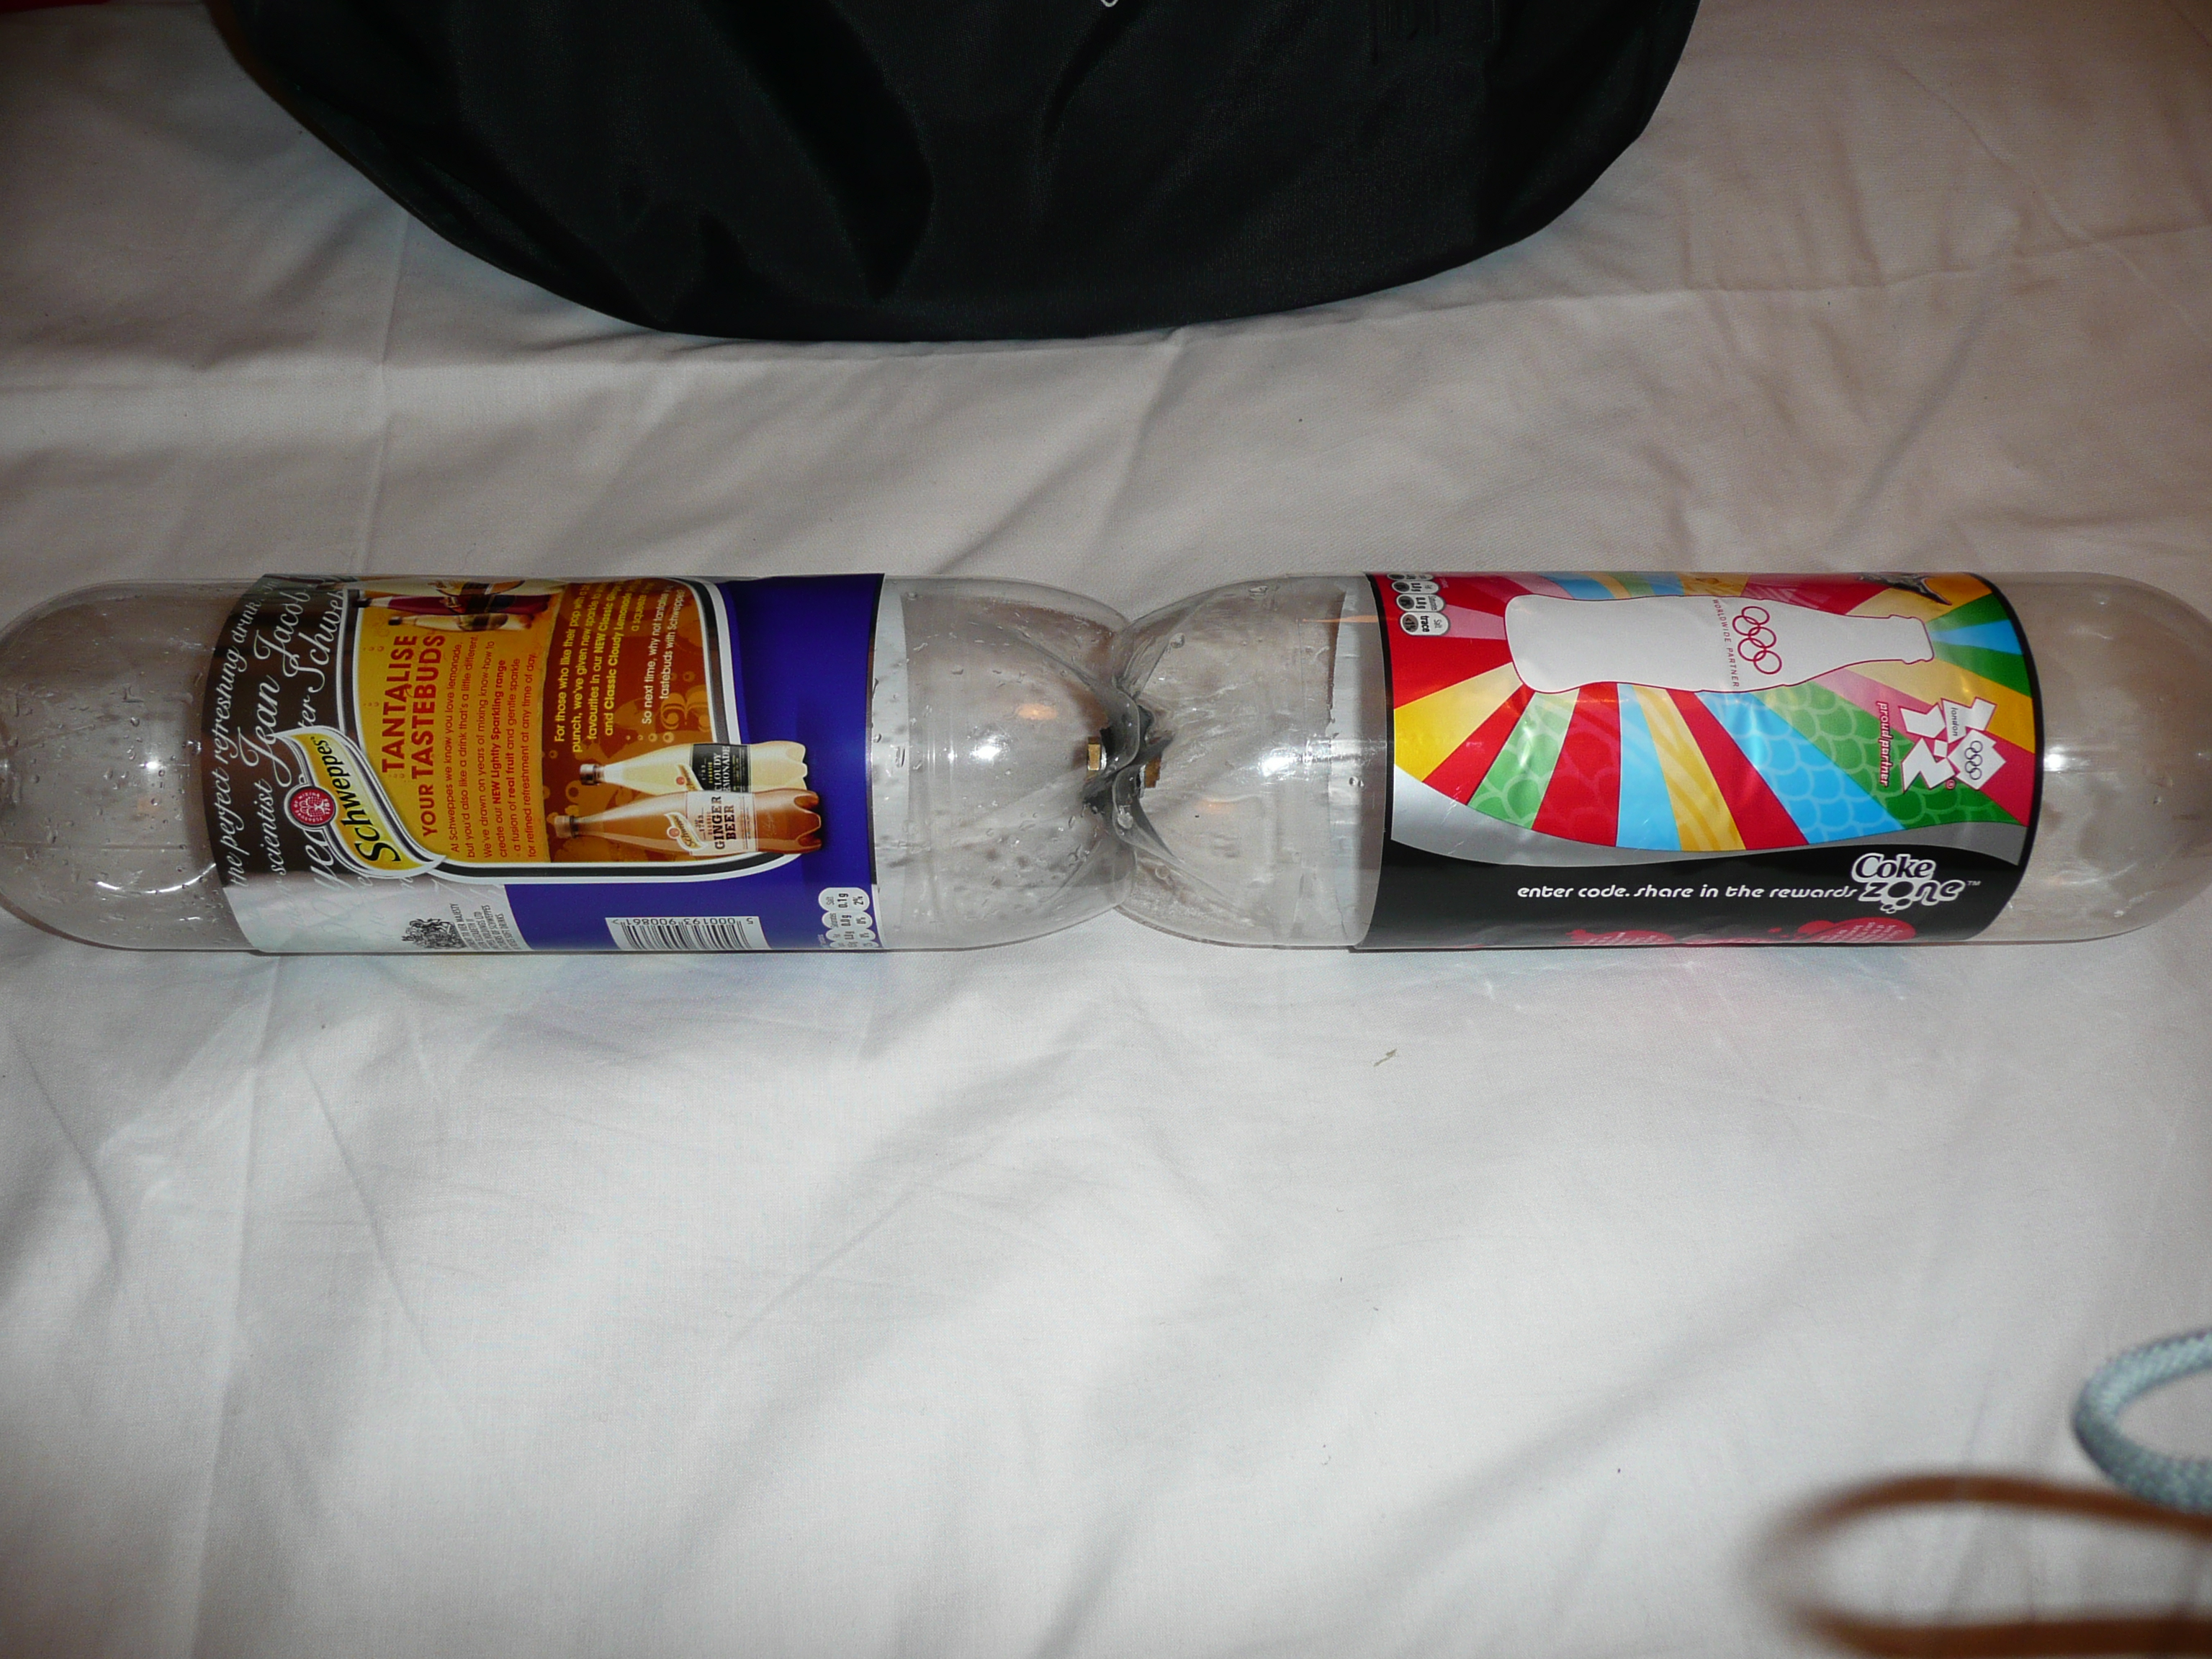
Of the remaining causes I suspect the most likely one might be the off centred nozzle. I can’t confirm since the nozzles have since been removed from the rockets and some unfortunately lost.

One very good suggestion was to angle the fins along the vertical plane by 5 degrees, this should put the rocket into a spin thus canceling out any off centred nozzle or bent rocket. The only thing that remains to be seen is if the rocket will be traveling fast enough for the fins to make the rocket spin. I intend to test this next week and report the results.

Modified Launcher

Sunday, June 1st, 2008

After seeing how the standard launcher from Maplins was very wobbly with a 2 bottle rocket + Parachute module, I was doubtful that it would be able to hold the 4 bottle rocket at all.

I spent sometime this weekend adding some long pieces of wood to act as guide rails for the rockets. These should hold the rockets quite nicely even in fairly breezy conditions.

There are only guide rails on 3 sides, since I need to be able to still launch the rockets at a 45 degree angle in certain scenarios.

I also lengthened both the pressure hose and the trigger wire. I took the garden hose connector on the launcher apart and found that it was just a standard garden hose adapter with a long brass valve inserted into it. Using 2 more quick connect hose adapters and a piece of hose, I extended it by a couple of meters.

Below is a picture of the brass valve and hose connector.

And a picture of the hose going into the launcher